Today I focused on improving the overall aesthetic of my scene, I decided to fix up the cave which I added including the overall camera movements which would showcase my scene. Below you can see my processes through this, unfortunately my screen grabs didn’t work but below you can see my camera movements along with the newly added props on the scene.
Firstly I increased the length of the tunnel so it went straight through the mountains and out of the other side. I also added another mountain into the scene which would act as the base for the whole setting. I placed this at the end of the cave to show that we were high up. I went on to fix the UV’s inside the cave because they got distorted with all the stretching. I did this by cutting the edges away from the rest of the mountain then moving and transforming them until the inside looked realistic. Finally at the end of the cave again I place a plane which would act as fog and cloud because of the height of the scene. Below you can see my render of this. 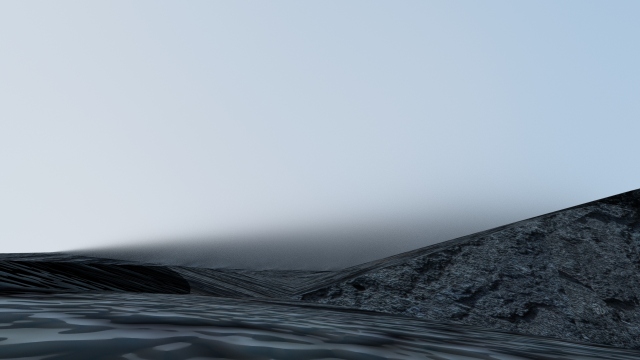
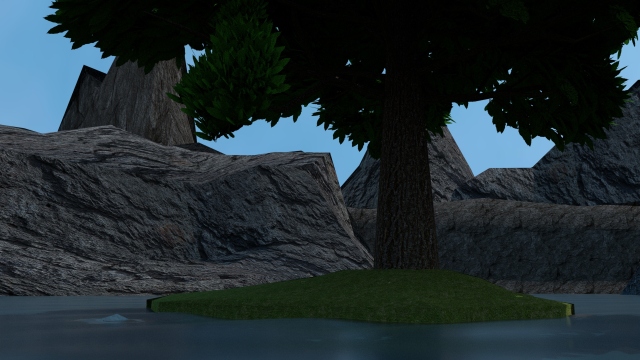
Next I added my extra props consisting of rocks and a tree. The tree was placed ont he island and the rocks were placed in the water on the way to the cave entrance. After placing these is the correct locations I was ready to set up the camera. I used just over 1300 frames to show off my scene which equals just over 50 seconds. I had the camera fly in from the back of the mountains come down onto the lake fly around the island and go up onto it. Then the camera went over to the tree flew around that went back onto the island across the stones and into the cave. Finally it went through the cave looked down off the edge on the other side then it fell off into the fog/cloud below. I feel as this was the best route because it portrays my scene the best and what I have created on it the best too. I am really happy with how it turned out. I have included a playblast and some visuals from within the clip below.
While testing I found out the scene was too dark so I had to increase the intensity of the directional light below you will see the difference between the brighter and darker visuals from different angles.
Darker Visual 1: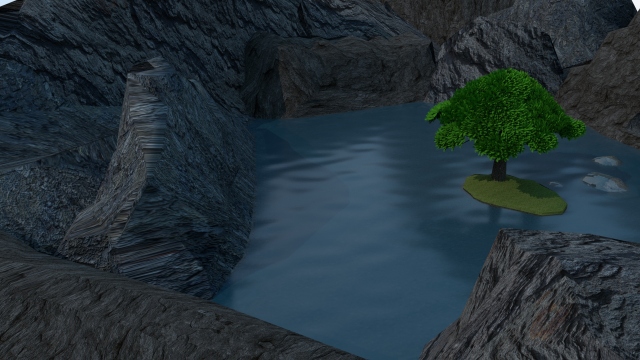
Lighter Visual 1 (With Texture Fixes):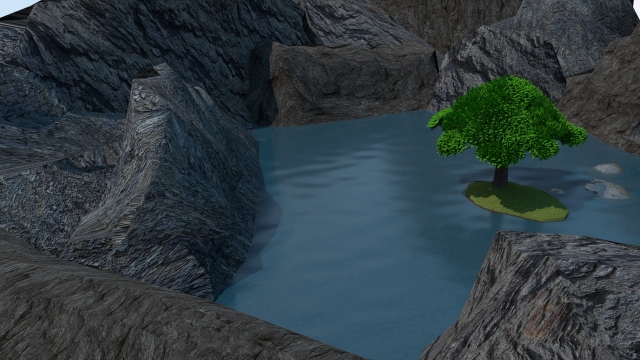
Darker Visual 2: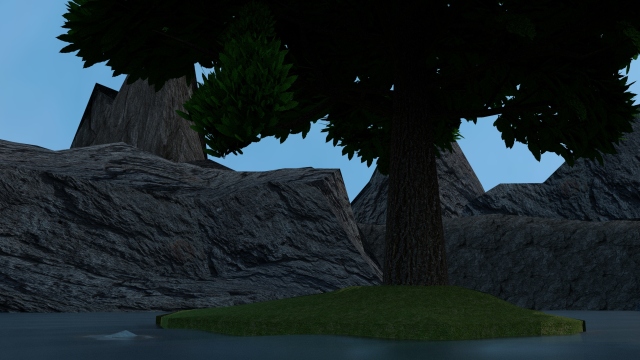
Lighter Visual 2: