Today I finished my Pecha Kucha presentation. This presentation included 20 slides which were going to stay on the screen for 20 seconds each. These slides contained interesting and exciting things I have learnt and done over the past years. I have laid my slides out to have a small title and then an image showing the audience a visual of what I was talking about. My order of topics on each slide went like this: Dorms, Cooking For Myself, Going To Viewings, Rowing, What I Enjoyed On The Course, What I Didn’t Enjoy On The Course, Learning Adobe Packages, Work, Work Experience, Passing Driving Test, Getting A Car, Driving To Scotland, Getting A Pet, Bothy, Wild Camping, Snowdon, Crib Goch, 11 Hour Coach Ride, Newquay. With these different topics I had to think of things to say for each for a length of 20 seconds, I needed to stay within that time because if not it would mess up my timing for all of the other slides on the presentation.
Category: Making Of
Completing My Year 1 Showreel
Today I completed my showreel. I created this using the program Premiere and had put all of the best animations which I had made into it. I kept the showreel to a length of 1 minute because it would be a perfect length to allow the audience not to get bored and stay active while watching. The longest length which I was told to have was 2 minutes but I made mine shorter overall. I had a backing track on my showreel too, I was told that I should avoid commercial and instrumental music which would distract the audience from my work and have something engaging. After finding the perfect track I started building my showreel. I created a title card which had my name, email, blog link and YouTube link on it. By having these listed it will be easy for the viewer to find all of my links to the rest of my work and also be able to contact me. I had this title card in front of a red background and had it on the screen for about 1.5 seconds at the start. After the title I included a short section from my story animation followed by some of the animatic and some of my infinity zoom. I then had a title card saying 3D/Maya then listed some of my best Maya animations. I then had another title card saying Stopmotion, and this was followed by all of my best stopmotion animations. At the end of this I put by title card at the end for another 5 seconds as the video ended to allow the audience more time to look at my information and links.
My Email: b.moreton1@edu.salford.ac.uk
Blog Link: https://animation915289758.wordpress.com/
YouTube Link: https://www.youtube.com/channel/UCc-JMZHsCarztbqpNGXbQhQ
This is a link to my Showreel!
Making My Background Image Move
Today I finalized my detailed background design I made in Semester 1. I placed the Photoshop file into after effects and moved the camera around to make it look like it was zooming through my image. I did this by setting the key frames and moving the view to where I thought was appropriate.
Video Production Bible
Today I completed my video production bible for the module of Making Of. I had built this video up on the program Premiere and had included all of my designs and walk through of how I created my infinity tunnel. I included the research which I did and all of the different attempts which I had done to get to the final product. I also included a screen grab of when I was in After Effects with a voice over explaining to the audience what I was doing and how I managed to create this effect. I also included titles and headers which corresponded with what I was talking about in the video. Another thing which I did was add a quiet background track to the video which filled the gaps of emptiness when I wasn’t talking. I also added sources for whichever external work or media in which I used such as my research videos and music.
Overall I think this production bible went pretty well as it included everything in which I did to create it. The only problem which I have found was that maybe I didn’t go into enough detail about certain parts of how I created it.
Showreels
Today I learnt about creating showreels. I learnt that when creating a professional showreel I will need to keep it short and sweet by keeping it under 2 minutes. I also will need to think about connecting it to mr larger work. I will also need to include engaging music which is advised to be an instrumental and not commercial music. I need to choose what topics I want to show and have the title card extremely short or set it as the video thumbnail. I can include artwork and group projects as long as I credit the part I took in it. If using rigs I will need to credit them and also show the audience my interests. For a heading into what I am showing the layout should go: name, roles, responsibilities and program. I should also only include my best work onto the showreel and keep it to 5, 6 or 7 examples. Animating thought process through movements is important, and to show the principles of animation of possible. If I have dialogue I need to make sure it is heard over the music and also I need to include my name card at the end of the showreel with social media links. I will also need to credit anything else I used such as music and I need to show the good practice.
Production Bible Planning
Today I planned out my production bible for the 1 minute infinity zoom idea I created. I created a PowerPoint and used a title page and 5 different headings which were on Blackboard. These headings were advised for me to follow and they consisted of: Introduction, Background, Prototyping, Final Outcome, Conclusion. I wrote a few paragraphs for each of these as a script so I was able to know what I was going to say about my infinite zoom animation when I am creating my production video.
This is the PowerPoint I created:
This is the structure I should follow on Blackboard:
Research For My Infinity Zoom/Infinity Tunnel
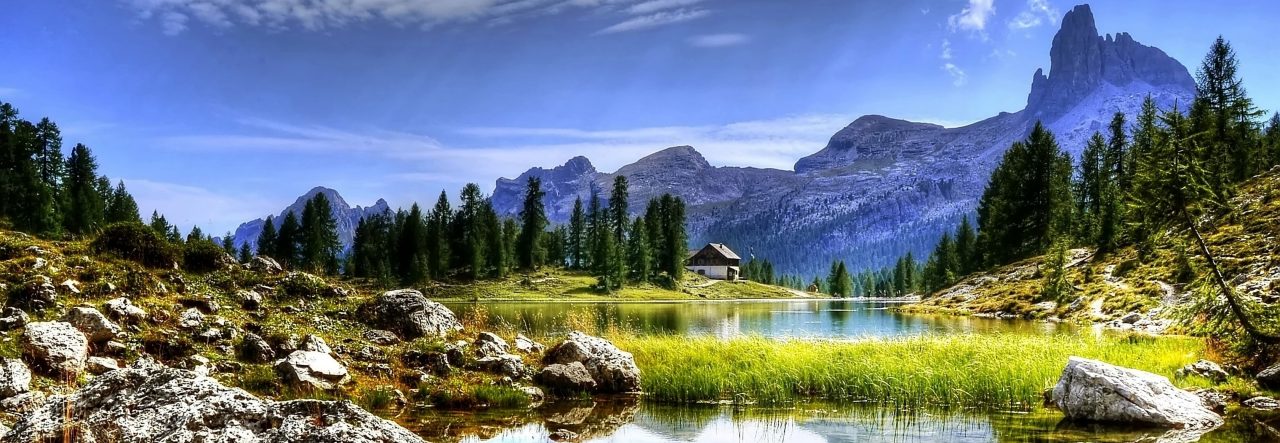
I did extensive research into this topic and found a perfect video which resembles what I want to create as my topic. Link to the video:(http://goldenwolf.tv/work/nike-chile). This showed an effective infinite zoom animation produced to celebrate and promote a new Chile team kit.
I did some more research and also found this website which contains an infinitely zooming image which was also quite interesting:(https://zoomquilt.org/).
I also found a video which showed a bunch of different infinity zoom examples, this was extremely efficient to find because it gave me a bunch of different examples from different artists and animators and allowed me to have a look at how their work differentiated from each other:(https://www.youtube.com/watch?v=-bde6aoRHzg).
After finding all these different examples I had a good idea of what I wanted to create and had the bases remembered for when I would start to create.
Finishing The Infinity Zoom/Infinite Tunnel Prototype
Today I finished my prototype for my infinity tunnel for the Making Of module. I collected all of my photoshop drawings and put them all into after effects. After doing this I ordered them all in which I was going to be using first. I then set the key frames on each of the images so that they matched up with each other and looked like the camera was going through a continuous looping tunnel. For the end of the tunnel I replaced the first image so that it completed the loop and it could keep playing through exactly the same to create the infinite effect. After doing this prototype I found out that if creating a final product of this I will need to create the horizon lines and the roads all on he same level and size so that it is a cleaner transition between each one.
My Prototype Infinity Tunnel:
Trying The Infinity Tunnel In Adobe Illustrator And Adobe Photoshop
I recently started attempting to make my 1 minute video for the module of Making Of, I had many attempts at drawing on different software which I was told would be effective for my plan of an infinity tunnel. First I used the hand drawn plan as a background then extended on it in Photoshop, I added much more detail and colour to these pictures and made them look more realistic and close to my final design. The problem with this attempt was that when zoomed in the image went full of pixels and didn’t look very good so I decided to try using another software and see how that turned out. When trying illustrator I already knew that it wouldn’t go full of pixels like in Photoshop, but I found it extremely hard to use and when finished a base design I didn’t really like how it had turned out. I had reached a problem with my idea, but I spoke to a tutor and they said you will have to make a sacrifice somewhere in order to succeed. I am deciding now to make a super large photoshop file which will take a long time to save and also have a large storage size but will be able to produce a good looking product in which I am looking for.
I also got assistance in practicing how to make an infinity tunnel in after effects. By doing this I learnt that I had to match up the horizon line and also make the centre point transparent so that I am able to make a smooth transition to each picture and make an effective and great infinity tunnel.
Original Drawing: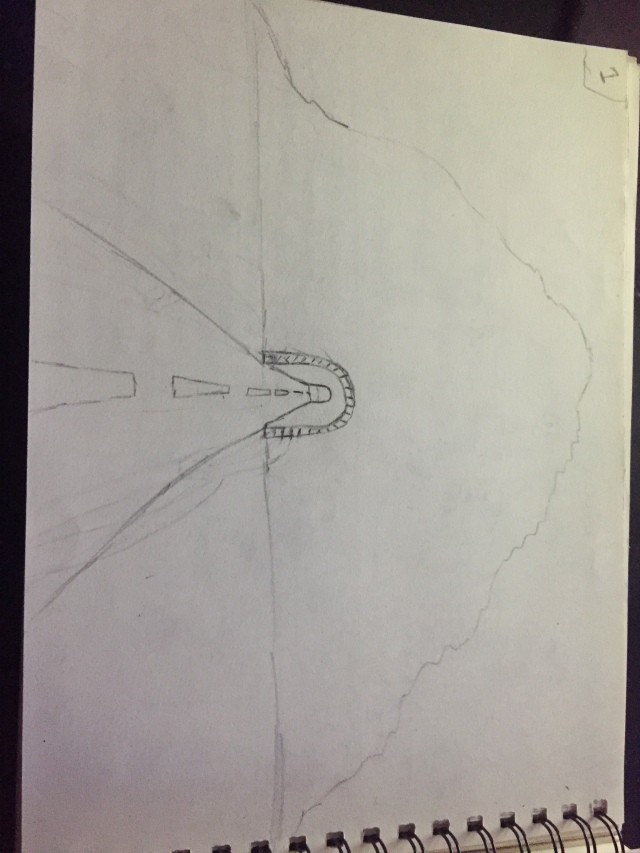
Illustrator Attempt: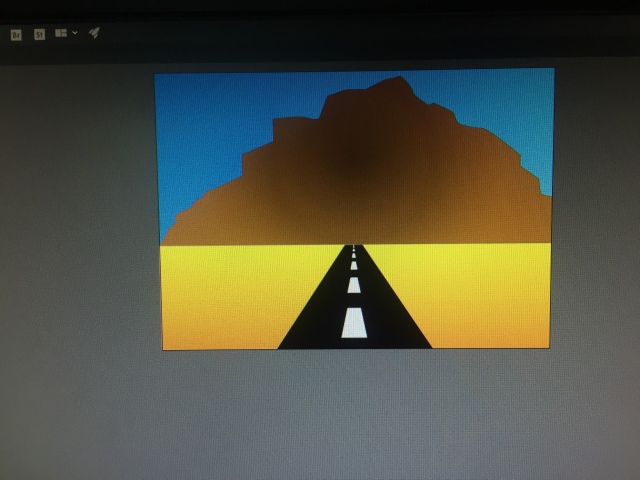
Photoshop Attempt: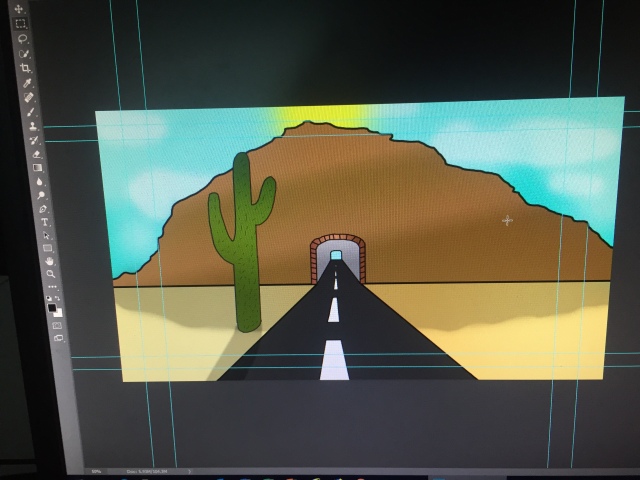
Infinity Zoom Final Idea
Today I finished my first set of plans for the infinity tunnel I am going to be creating for my 1 minute video for the module Making Of. I have decided to include 7 base pictures which all merge into each other in some way. By doing this when editing I will be able to create an infinite loop where the images keep flowing freely to each other. I am going to start the video with a title sequence where I give my name and the title of the production, I will have the camera zoom and go through one of the letters which will then merge into my first drawing. I will then have the camera placement equivalent to the viewers point of the next image by doing this it will allow my video to be as seamless as it can be and allow the viewers to think that its just one long never ending tunnel. Another thing I have decided to do is add specific sound for each area of the infinity tunnel so it corresponds with what the audience is seeing and changes effectively when the image changes on screen. I had drew a picture which I quite liked that involved multiple of the images I drew for my final idea, the image wasn’t used because it wasn’t at the right angle to complete what I was trying to achieve for my project.
I also thought of drawing the images using a drawing tablet so they were already straight onto Photoshop, after testing with them I didn’t really like the result so I decided to keep the bases of the images on paper then copy and trace them over to Photoshop with more detail in the end.
Image of me using the drawing tablet and the result: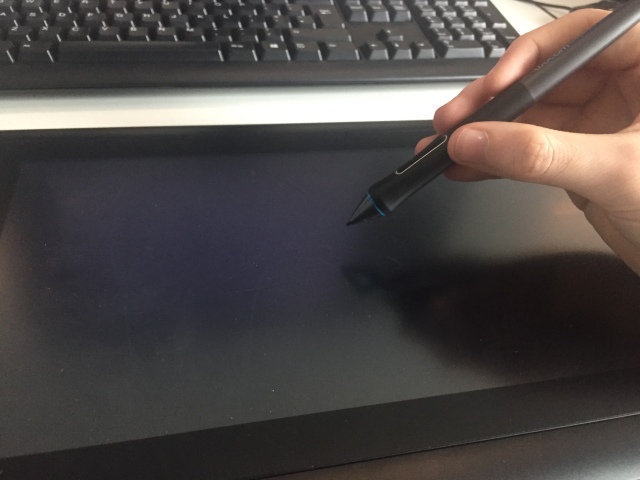

These are my plans before I drew my pictures: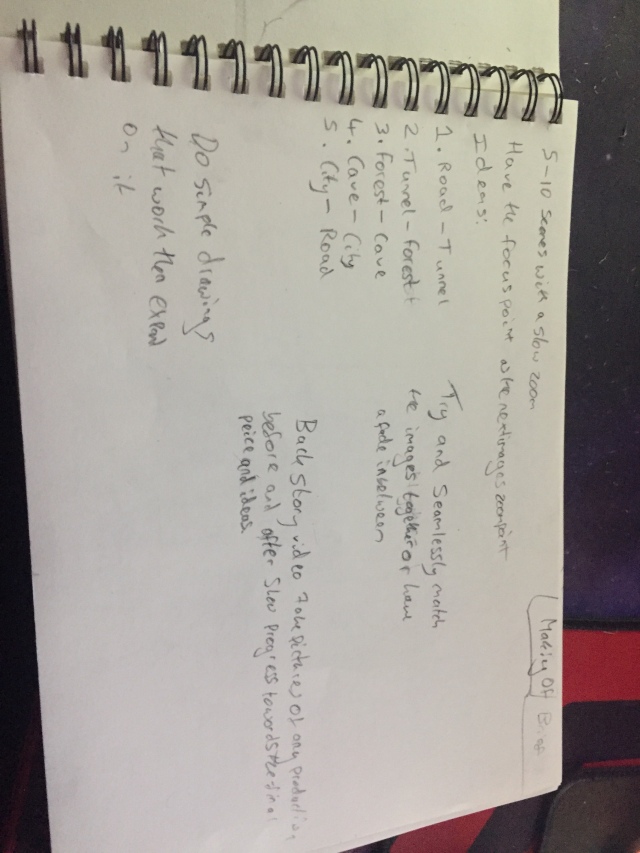
My base image which I decided not to use: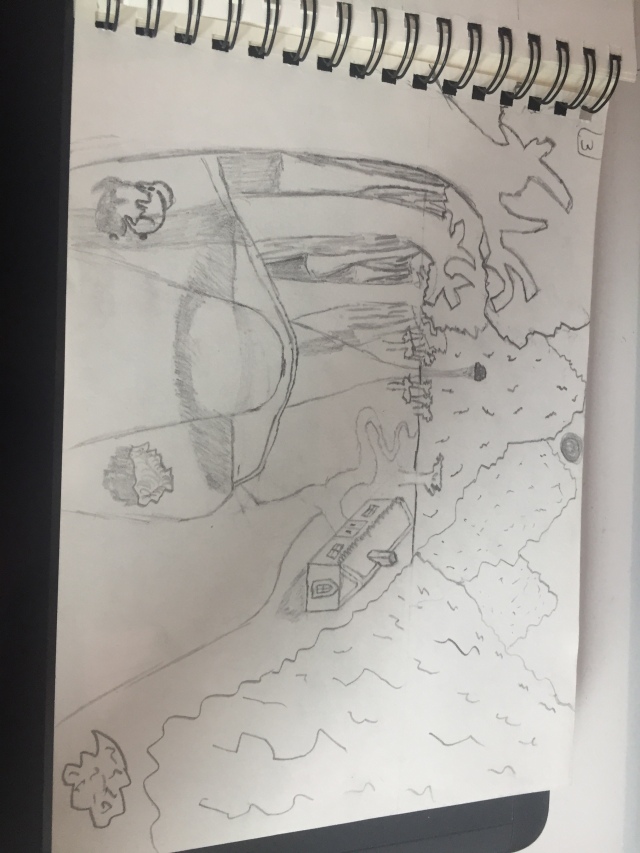
My first image consists of a road leading into a mountain tunnel:
My second image consists of the end of the tunnel leading into a forest: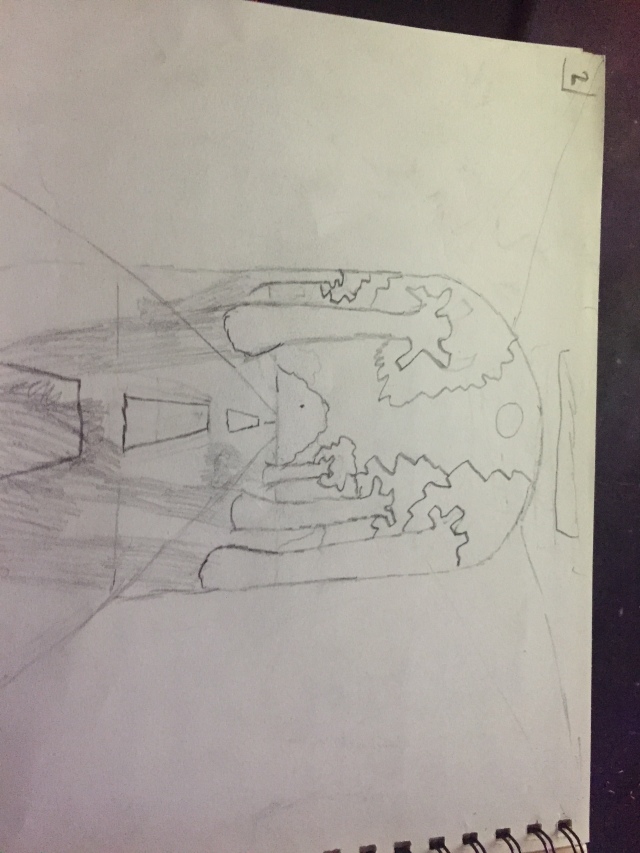
My third image consists of the forest leading up to a bridge:
The fourth image consists of the bridge leading up to a waterfall:
The fifth image consists of the waterfall leading up to a cave: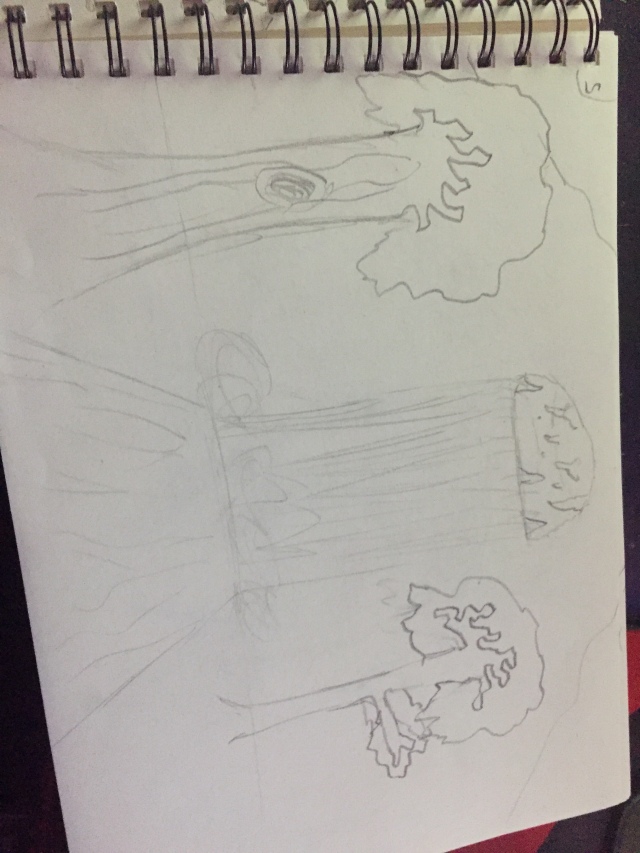
The sixth image consists of the cave leading up to an overhang: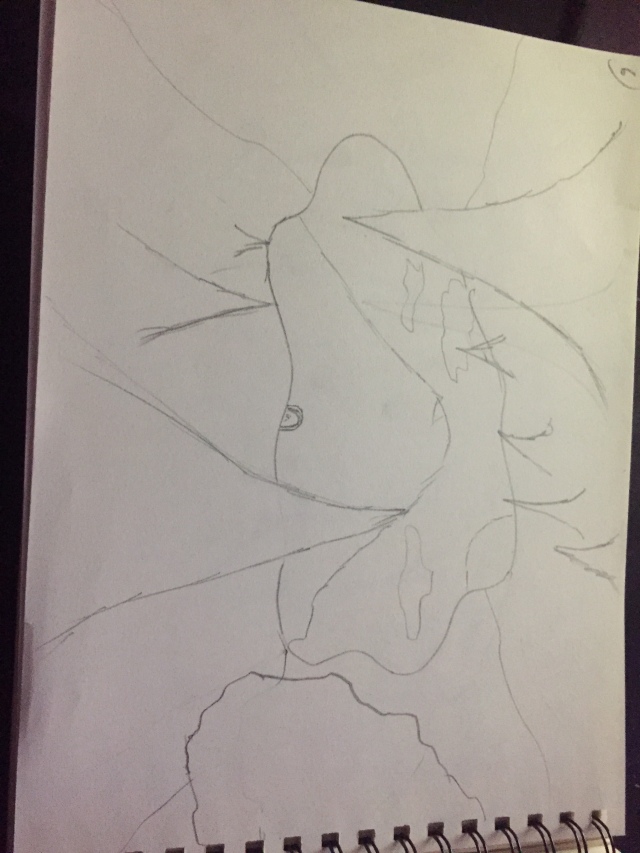
The seventh image consists of the overhang leading to the road: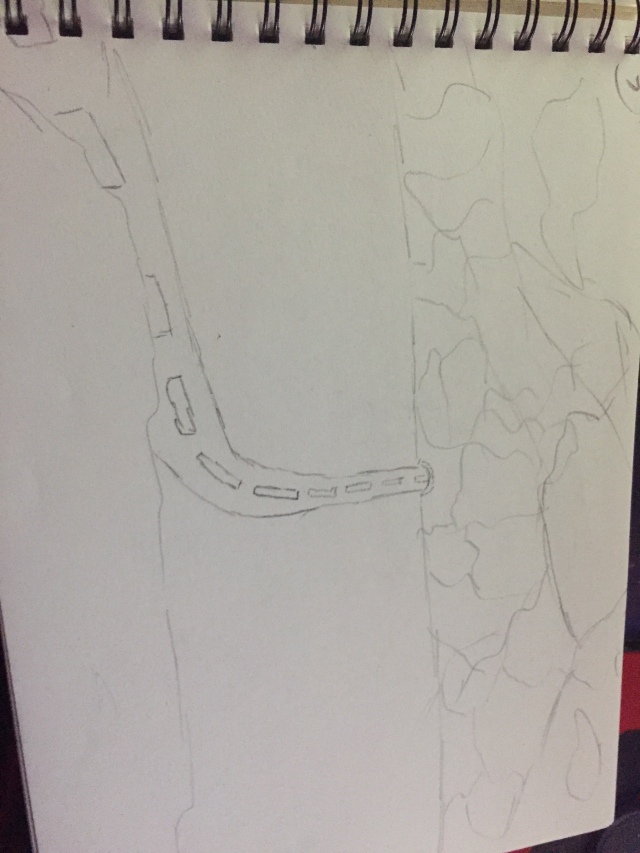
This is an image of the updated plan after drawing the images:
