Finalizing Work For The Negotiated Module

Today I received my final handin for the project which was the teaser trailer. I wrote out the final feedback sheet and sent it out and with that my work with the second years had come to an end. However, this meant it was time to move onto the next stage of post-production!

Teaser Trailer

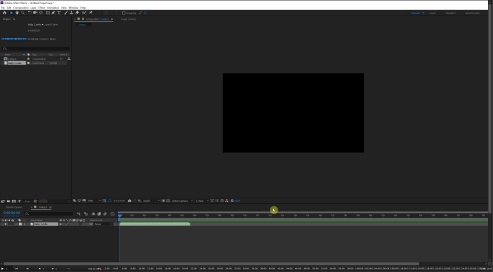
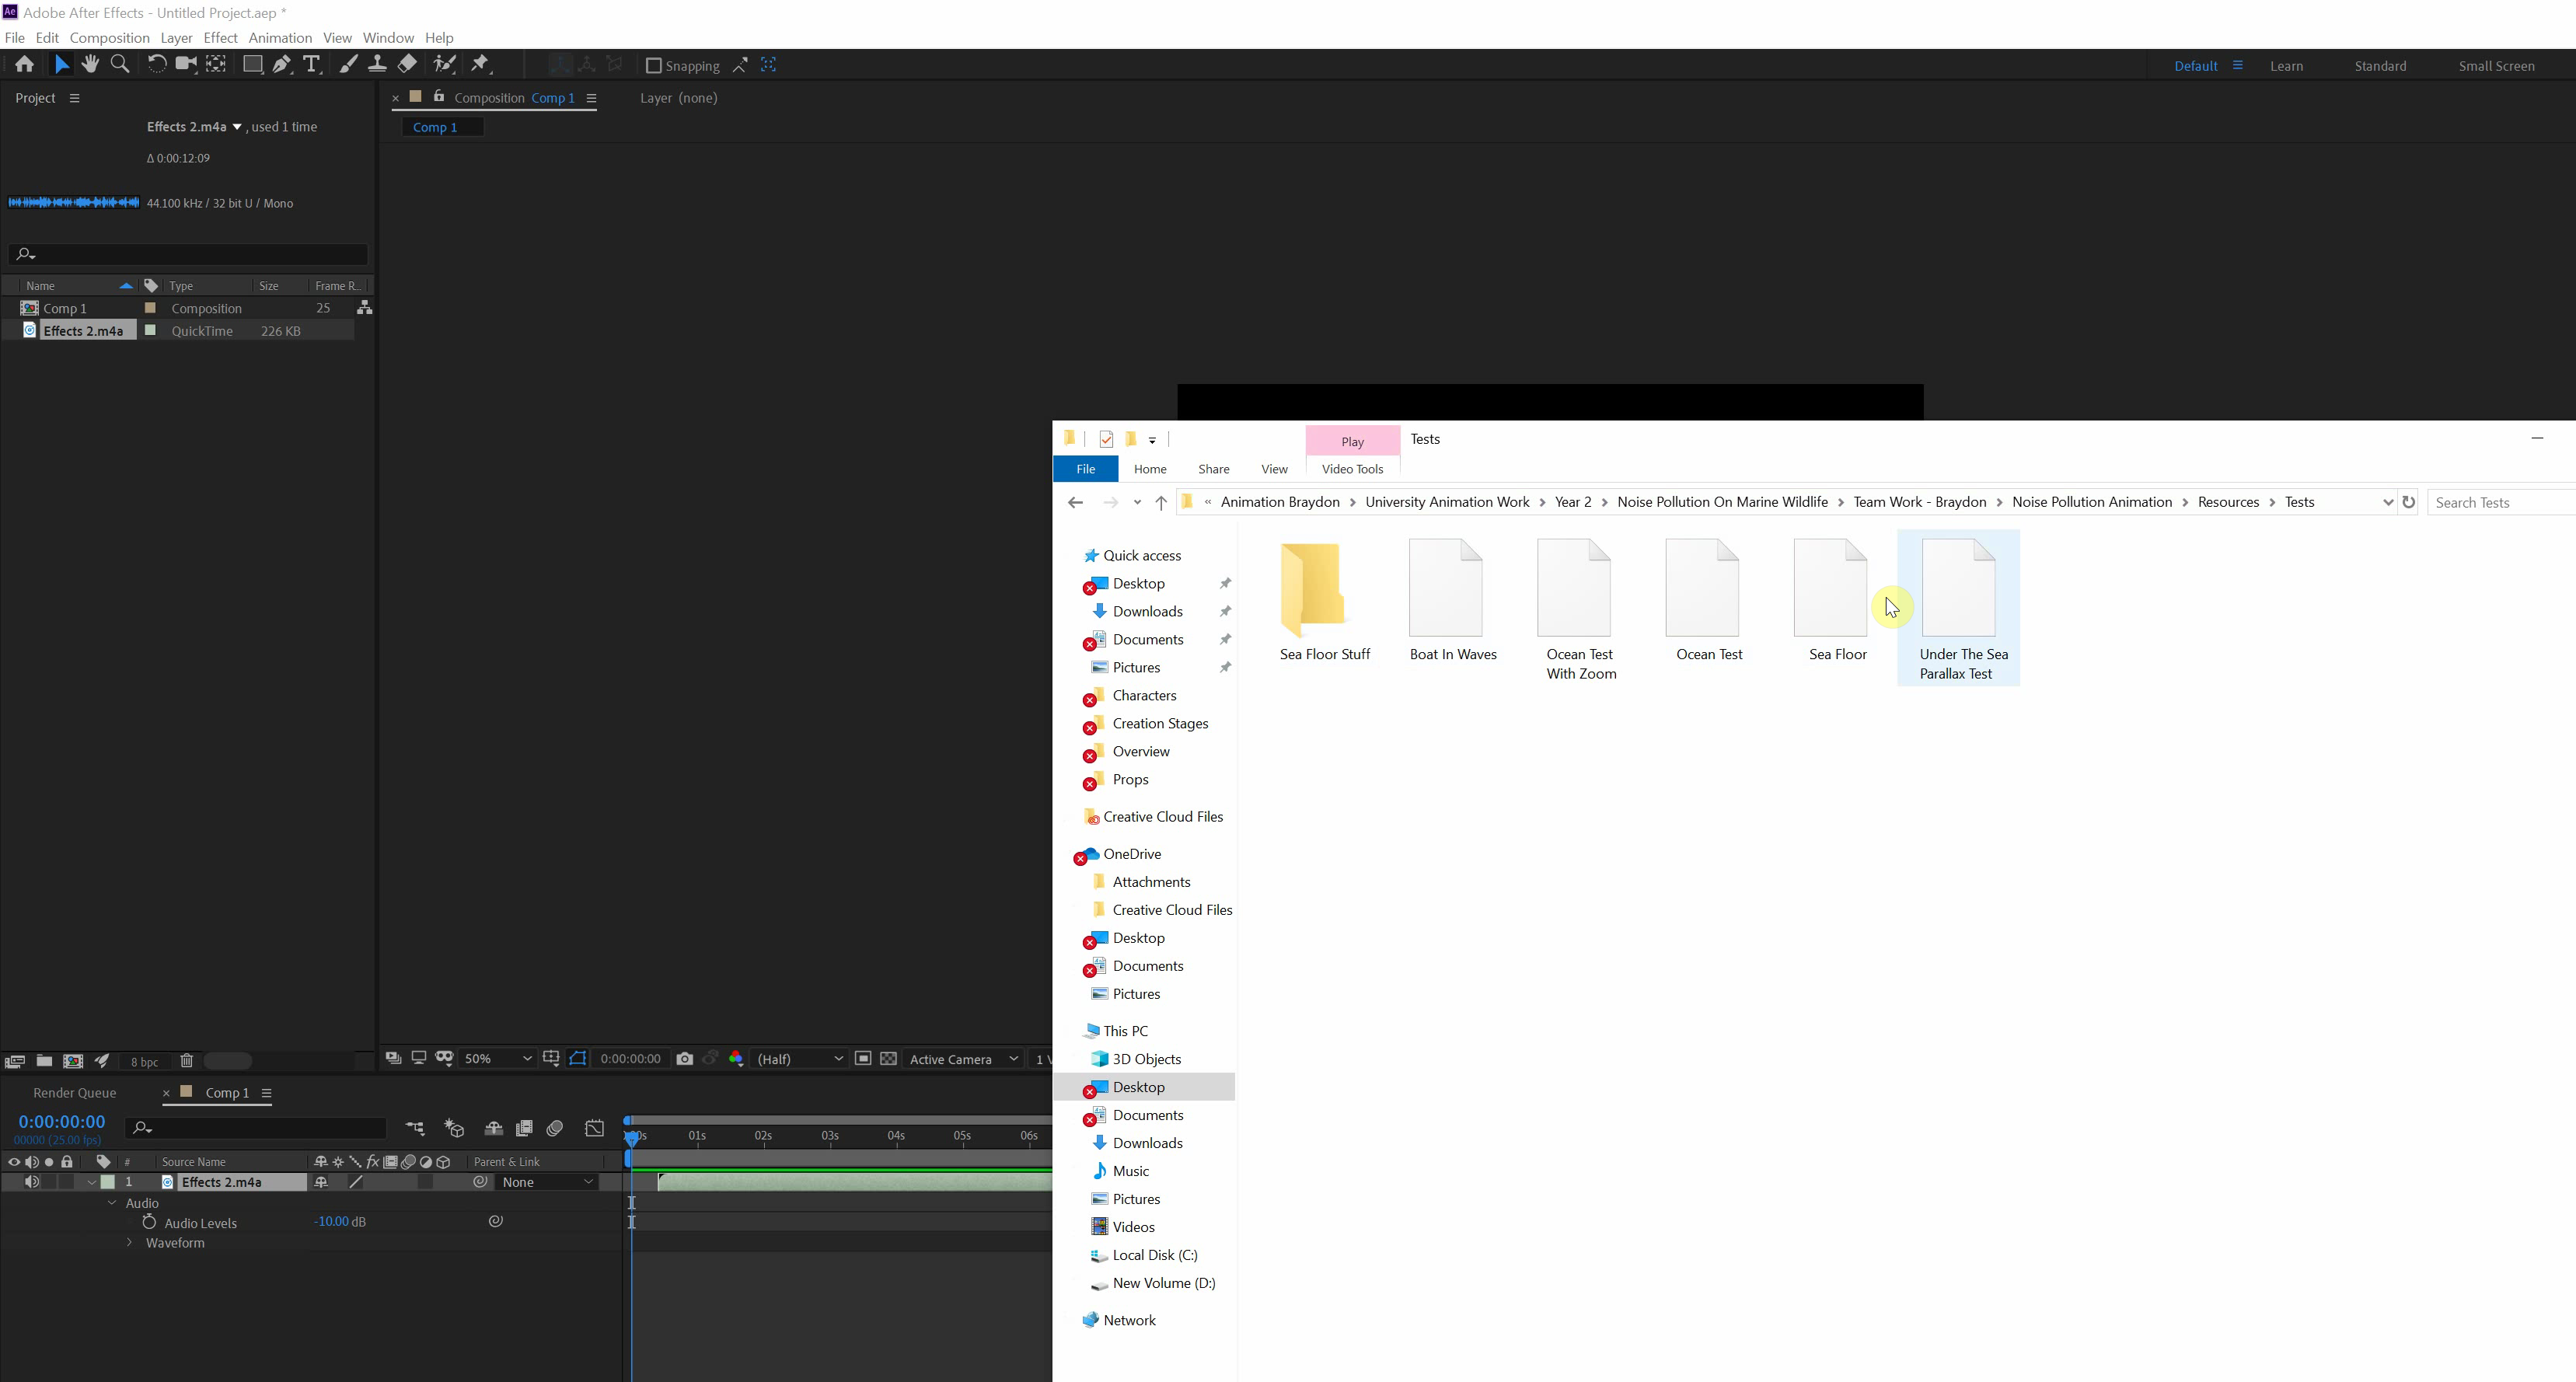
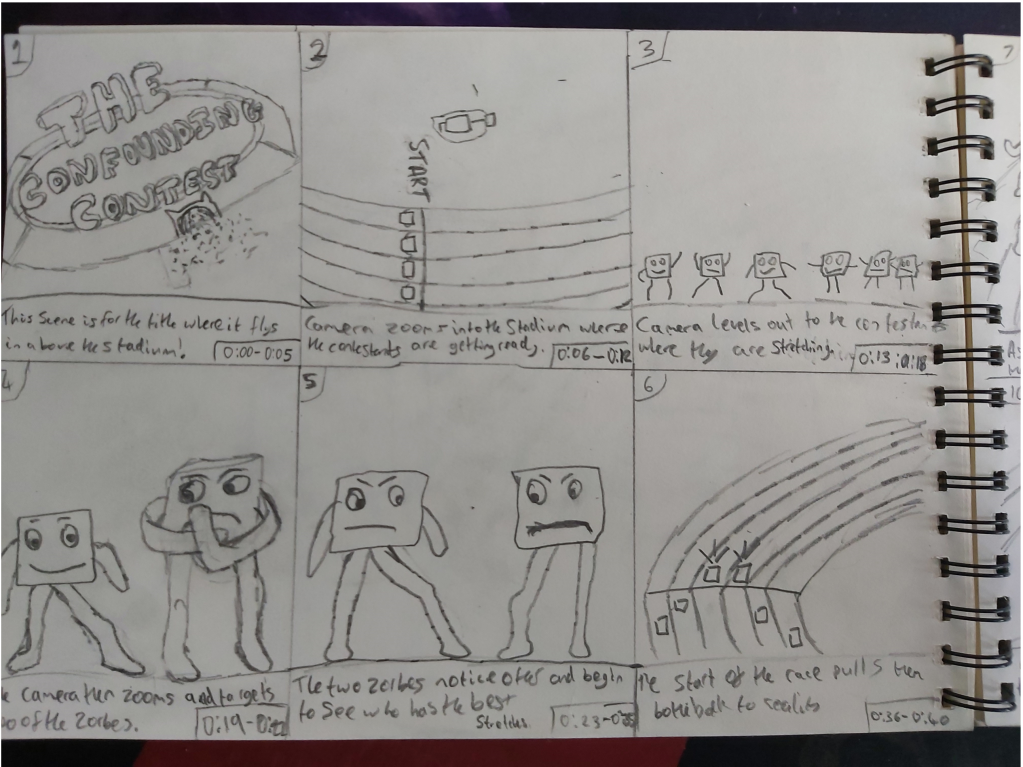
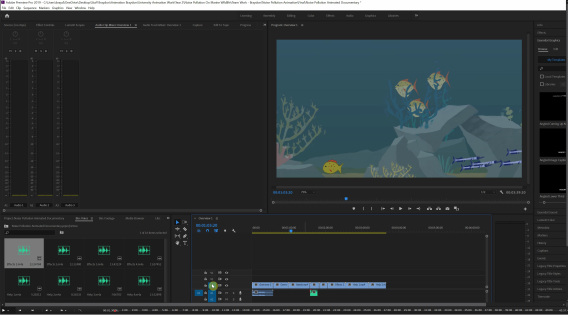
The teaser trailer was handed in to me by one of my second year assistants, it was pretty much perfect and all I had to do was add in some audio to match with it. The trailer consisted of all the cards I had made for me along with sections of the main animation held within. It lasted for 50 seconds overall! The audio I included was from the middle of the TCC soundtrack slowed down to about 60%-70%. This was in order to bring a bit of differentiation to the clip and to keep the audience engaged with a different sounding section of music which wouldn’t just repeat in the main animation. My sound designer said that if he managed to get time he would make another soundtrack to match with the trailer but I just created this incase he didn’t find the time!

Electronic Press Kit

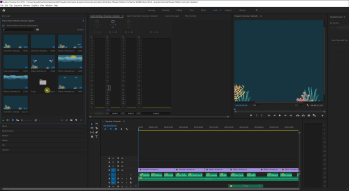
Next was the EPK, this document had been fully completed apart from the final section which was the inclusion of the teaser trailer. All I had to do with this was add it as a video within the document, once this had been done and had been scaled to the right size I exported this out as a PDF. With this exported I checked it over to see if everythign was working and thankfully it was all working perfectly.

I am extremely happy with how this project has turned out and I am extremely glad that I stuck with my plan in the end for The Confounding Contest!

Making Progress Through Negotiated Project – Phase 1

Today I started to make advancements on my idea which I had chosen to be my strongest for this module. I used the project brief to identify which areas I needed to build up for development.

This is what I am using to identify what needs to be created.

Firstly, I started of with a storyboard, the reason for this was I had the idea planned out in my head but hadn’t mapped out hte individual scenes to find out if the idea would actually work and span out over the minimum time of 90 seconds. Luckily it did and I produced a basic storyboard with timeframes, scene numbers and a short description with 12 sections. This was only the initial document so it is likely to change and adapt over time. Below I have included screenshots of my storyboard.

Next, I moved onto creating a turnaround for my main character. Seeing as my characters were basically all the same this would apply for the other characters within my animation too. The only difference would be colour schemes between each of them.

Finally, I created a large visual of my character in his natural pose, this would allow for me to create colour schemes of it. I also did an expression and action shot page which included my character doing different things which would happen during the race. These were drawn quite quickly but it gives any audience a basic of idea how it looks. I also made colourways to include a different aspect of design.

At the end of all this I sent all these images over to myself and updated my mini-pitch with this relevant artwork. This would allow for a more developed pitch and give me more sections to talk about when I am presenting my idea.

Team Presentation

Today me and my team had to present our work up until this point to the class and lecturers to get different feedback and assistance. We all had our specific slides to reacd for what we have done and it allowed the presentation to go as smoothly as possible. We included imagery and videos when needed inside to visually show to the audience what we had completed for our animated documentary. We had up to 20 minutes to present it all so we couldn’t just waffle on about different slides because we had to keep it in the time schedule.

The response we got was really good everyone seemed to like our idea, of ‘Noise Pollution on Marine Wildlife’. They liked the fact we had all had a huge part on creating the producing this animation and that noone was left out with noting to do or not having a big part in the production.

Overall I was firstly worried about this task because I don’t enjoy talking infront of a crowd, but once doing it after learning what I needed to say the experience wasn’t as bad as I thought it was going to be at the build up.

Editing Together The Animation

After creating it all I started to edit it all together, I brought all the sourced material and edited it accordingly to what I had created. I moved all of the different sections together, matched them up with the audio and also included some extra sound effects to make the whole animation feel nicer. Along with this I included a basic title card and credit scene to make the animation feel more like a documentary. I included the teams roles and whoever else helped with the animation. This didn’t take too long because everything was basically finished already. But for now I have finished my role for this group project and I am just waiting to hear feedback if any about what I have created and if anything needs changing. You can find the video of me creating this stage below!

t.PNG

The animated documentary can also be found below!

t.PNGI

I got feedback for my animation and it involved me replacing one of the scenes with one which involved more movement and also to replace the text to keep continuity throughout our project. I did all this quite efficiently and got it all uploaded and saved again for our final animated documentary. There is the updated version below!

tt


Finishing Off The Animated Documentary

Today I carried on animating the documentary which I was producing for group work. I was up to the final stage which was the help section! This was hard to do visuals for so I created a sort of bullet point system like on the animatic and had keywords explaining what to do to help the ocean. I added bubbles and the other props such as the stop sign and the visuals for: plastic, oil and sewage to allow for all the resources to be done and for nice little visuals to keep the animation flowing. This was only half of what I had to do because there is a few more lines of information in which I need to include within the animation as the last section.

The last section consisted of me having the first scene inputted again. I included nearly every animal in this scene to make it powerful when watching. I had them all doing different things like swimming past each other, shying away from the camera, meeting other fish and leading their children. With all this the voice over fitted well because seeing all of this and hearing how we are destroying their peace will make them think and try to change their ways. I added the bubbles around the scene and also implemented text at the end to portray the final powerful phrase of ‘We wish for a change!’. With all of this I had finished animating the animated documentary. Apart from any feedback I got this was our animation for the module. You can find the video of me creating these parts for the help section below!

tt.PNG

Carrying On The Animated Documentary

Today I carried on animating the difference sections of the animated documentary. The next stage for me to do was the effects section. This section was going to be the hardest because of it being the most diverse, meaning that it had a lot of different information in it so it required a few different scenes. Seeing as I couldn’t merge more than one paragraph of information together I had to do a seperate animation for each of the parts. Firstly I used the first paragraph as my timings and animated accordingly around that for the scene. I used visuals which were relevant and representative to the information that was being voiced over. The visuals included the use of the animals communicating to each other and bubble flowing up containing the key words within them. The creation of the first section of the effects part can be found below!tt

My next scene consisted of an above water shot, I used Ffion’s boat going through waves test to add a bit of change to the animation style and allow for the work to not be wasted. I added some visuals to this scene too such as a sun to portray that time had passed within the animation by having it moved to the centre of the sky. I created my own quick visuals to describe stress and confusion by using a lightning bolt and a spiral. I had these come up with words next to them to again empasise those keywords for the audience to remember. My final part contained the last 2 chunks of information in one scene, this was about the other types of noise pollution other than boats such as seismic and sonar. I did a visual to explain this using the words similar to what I did in my animatic with the shaking and pulsing. I did the same scene idea except I extended on it and made it look a lot more professional and completed than how I had got it in the animatic. With these done I had finished the effects section until I had been given my feedback. You can find the video of me creating this stage below!

ttt


Starting To Animate The Documentary

The past few days I have been focusing on animating the documentary for Noise Pollution on Marine Wildlife. My progress so far through this has been completing the first part which is the Overview. Using the pre-animated characters and props I merged them into a scene on Adobe After Effects along with my voice overs to create a well timed version of the animation. With my basics covered and my idea of what I though the scene would look like I exported it and uploaded it into the google drive where I asked my team to tell me what they thought and if there was anything else I should add. I got quite good feedback from my group with only little changes to the scenes. These were easily fixable and changeable so I completed what they had asked and uploaded it again to see if everything was up to the standard in which they wanted and had thought of. I am still waiting to see if they are all okay and if there are any other things which needed doing. Unfortunately I didn’t screen record any of this process.

The next part I started to animate was the needs section. This was the shortest part of the animation because it only consisted of one scene and it was just over 10 seconds long. I animated this quite fast because of all the pre-animations on the characters made it an easier process. I used Ffion’s parallax of the ocean floor for this scene because I thought it fitted really well with the script and also because it allowed for a panning shot instead of still along with including other members of the groups animations and it not just being all of my own. I will also ask for feedback from this section and see if there is anything else which needs adding or changing. I screen grabbed this section and it can be found below!

t


Creating The Individual Character And Props Animations

Today I organised all of the individual resources for the animation. I downloaded all the characters and props that my team had created. There were a few characters which had already been done but I finished off the rest of the animals and wildlife we were going to be using and the props. I made sure everything had a small movement no matter what it was, I did this because it would show to the audience how alive the ocean actually was. With this it also allows for a more exciting experience for the audience because of all the movement and everything going on in our scenes. The animals mainly had swimming animations with their tail, head and fins moving about. The shrimp and fish eggs were just moving on the spot in mini circles and the boat was vibrating to show the engine running. Once onto some of the props I had the bubbles growing and shrinking as they floated up the screen with the different designs I had been given. The final thing for props which I completed was to have stop sign lightly pulsing to include that extra little visual for the audience to enjoy. You can find the video of me animating all of these individual parts below!

t.PNG

Updating The Noise Pollution Animatic

Today I went back to my animatic which I created for my Noise Pollution team project and updated it. The way I did this was from the feedback from the group. Firstly the animatic was too long and it had to be shortened. I had already updated the script and removed any unessecary parts which weren’t needed or didn’t correlate with the aniamtion properly. With this updated script done I needed to do a voice over for it again. This time around I did my voice over properly and made sure there were no mistakes or stumbles in it. This was because incase we couldn’t get a voice actor we could just use this go over I had done. Another benefit with me reading out the script was that when I spoke through it and noticed if something sounded a bit off I could just correct it and make it sound smoother while going through. When completed I duplicated the animatic and started to modify it towards my new script. I removed all of the old voice overs and replaced them with my new ones. I also cropped, sped up and slowed down different parts of the animatic so they were able to fit in nicely to my new and improved script. Once finished I watched back and made sure the overall time was correct. It was and I had lowered the time down to just under 3 minutes which was in the brief specifications. With this done it will give me and my group a great example to how the timings will take place in our animation so we can start our production on that. The video of me updating the animatic can be found below!

tttt.PNG

The updated Animatic can be found below!

ttttt.PNG

Finding A Voice Actor And Updating The Script

Today I decided to reach out and try to find a suitable voice actor for the animated documentary module. I needed someone who could professionally speak through the script and be able to create a strong feeling behind the words. I firstly spoke to Joe Dembinski and asked if he could be our voice over. Unfortunately he didn’t class himself as a good enough voice actor so I had to keep searching. I then spoke to Johnny my lecturer about maybe getting in contact with the performance students and hope they would be up for the job. Johnny recommended me to speak to the third year Adam Lee because he had contacts which he has used in the past also. Another thing he recommended was to email him a message which he can send to the performance lecturer who can then ask his students hopefully. I sent Johnny the email with the message and also spoke to Adam about it. Adam told me of someone which he used from Scotland called Rob who is very good. I went on to message Rob to see if he would be up for voice acting for me. He responded quickly and asked for me to send over my script when ready so he could get start his production.

With all this sorted out I started to re-create my script. I used what I figured out during the creation of the Animatic. I decided to remove parts which I couldn’t visually explain or weren’t of as much relevance. I changed the wording to allow it to flow nicer and sound less robotic. I made it my own and recreated parts to give it the unique feel. Once finished I sent it off to Rob to hopefully complete his voice over for it!