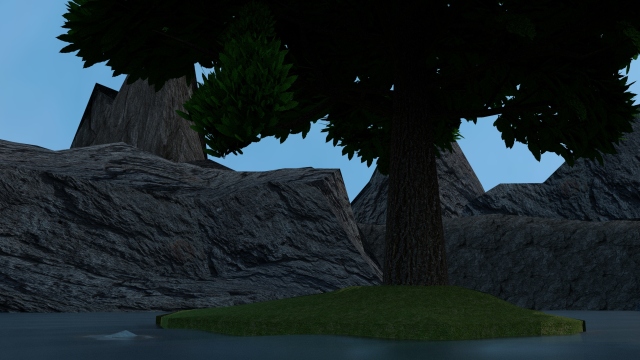
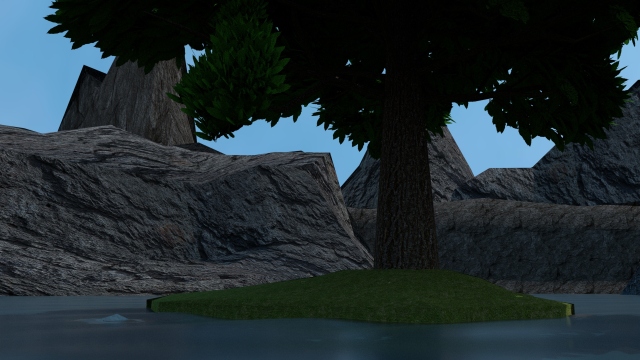
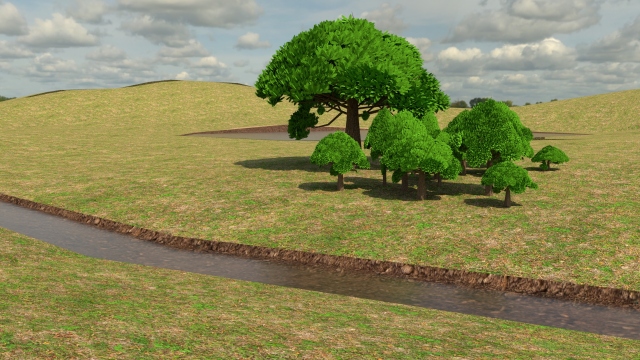
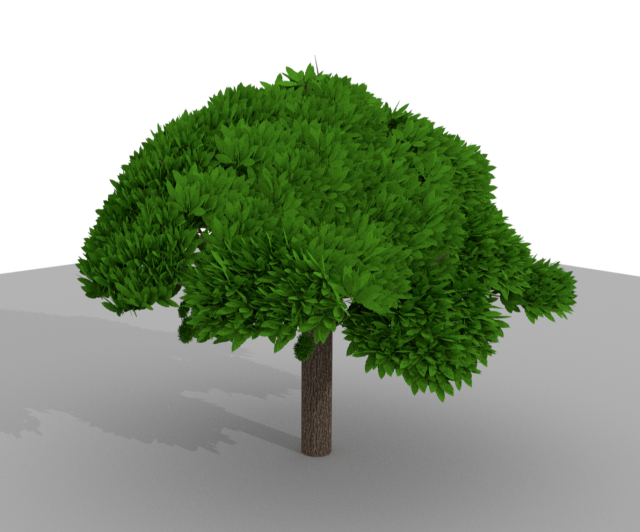
I recieved a great video explaining what Physical Based Rendering – PBR was. It is made up of a bunch of different materials which consist of: Base Colour, Metallic, Roughness, Normals, Height and Ambient Occlusion. Below I will what I have learnt from this video and list what each of these do along with how this had progressed my learning.
Base Colour
The Base Colour also known as Albedo or Diffuse is the literal colour of areas on a given space of your textures. This consists of green for leaves, blue for sky or brown for mud for example.
Metallic
The Metallic map is the ability of your surface to reflect the imagery around it. This basically consists of a black or white overlay over texture map to signify reflectivity of light. For example a sheet of smooth metal would be fully white to have that reflective surface but a rock would be black because it doesn’t mirror light as well unless it is wet.
Roughness
The Roughness map is the ability of your surface to reflect or absorb white light. For the texture map white would mean the more light is betting absorbed and black would be the light getting reflected therefore taking in less, so the white is rough and the black is very smooth.
Normals
The Normal map determines the illusion of depth and features. It tells the computer which direction the light needs to be bounced of the object. Telling it how to behave as if there were polygons to modify the flat shape.
Height
The Height map is the fake depth or height of areas on your map. The larger the difference between the white and black the larger the difference in distance it will appear on the object. It is quite similar to normal maps but they used to be called bump maps.
Ambient Occlusion
The Ambient Occlusion map determines which areas are inherently darkened to simulate shadows. Anywhere that is white on the map will not recieve darkening but wherever is black or greys will recieve darkenning accordingly.
These all helped my learning and understanding of the basic requirements for a high quality texture well. It allowed me to get a clear insight into what different materials were needed just to make up a normal every day object. It amazes me the amount of detail which is involved and what is needed to build up in order to create the desired realistic effect. I will need to delve into this topic matter more in order to get a greater understanding of it all along with practice for when I want to create a realistic texture.
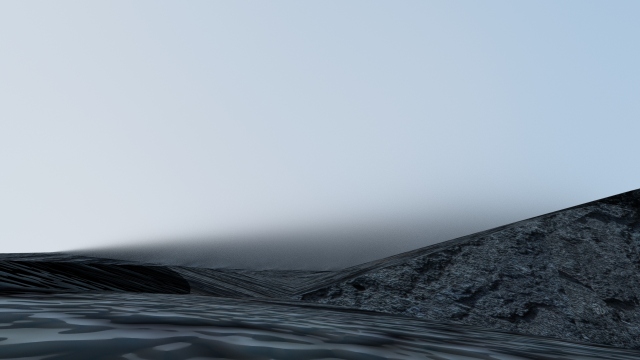


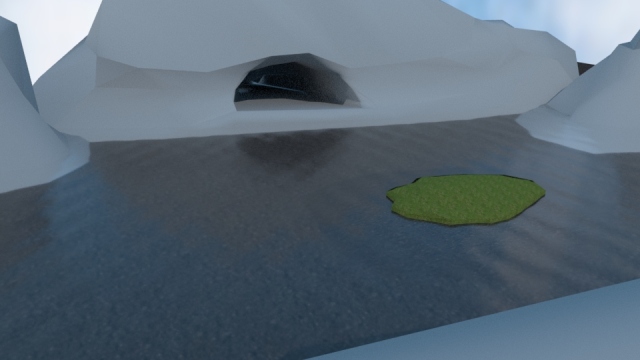


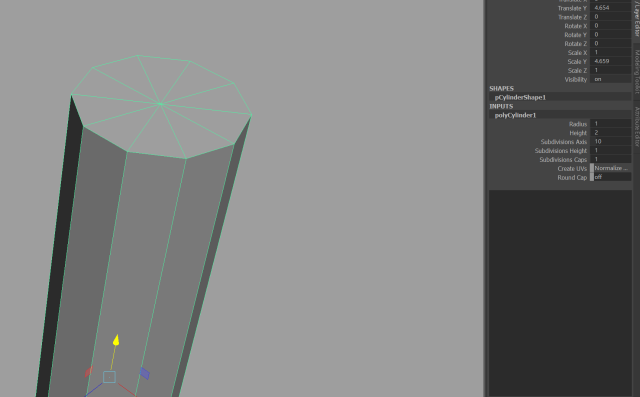
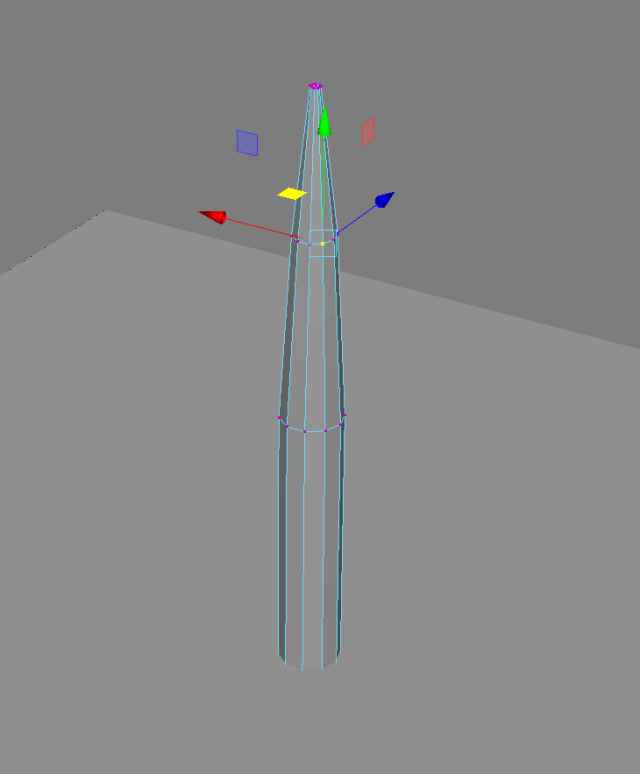


 Inside:
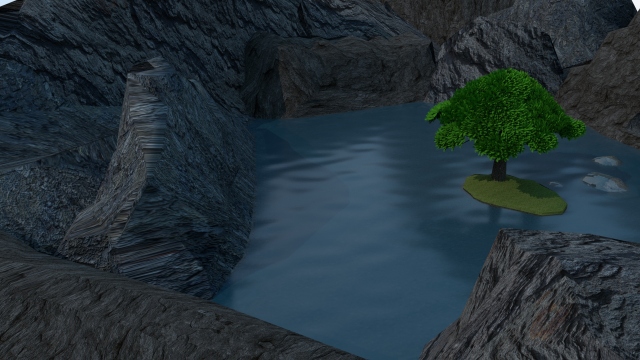
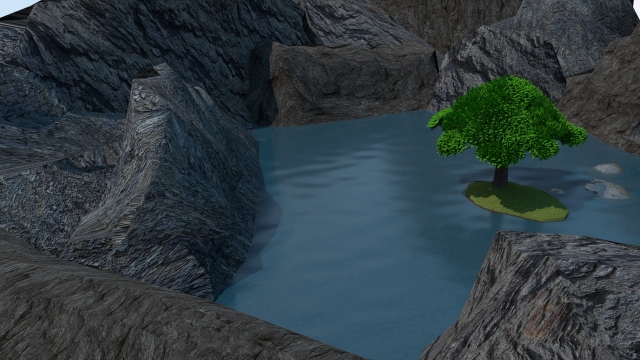
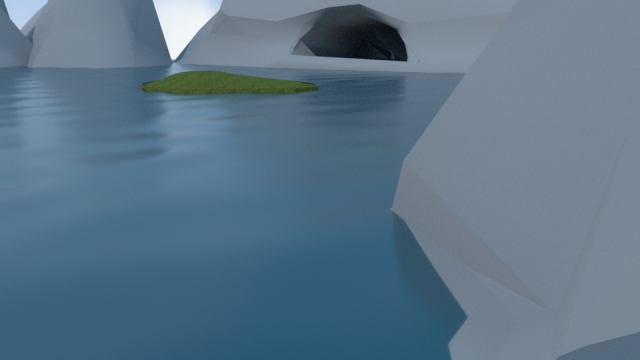
